Today's 4 1/4 x 5 1/2 inch card features the Batik Technique. The old classic technique was done on cloth with hot wax. For this card, done on Watercolor Paper, I used Nuvo Masking Fluid.
For the brilliant color, I used three colors of Nuvo Aqua Flow Brush Tip Watercolor Pens.
These pens are absolutely AMAZING for this technique.
The background is done using only the butterfly from, Violet for You, one of our new releases. Using a stamp for a textured background really helps tie in a theme.
This video shows the technique and products used, so watch how it's done, then use these stamp and color substitutions to create the background for the card above. Finally, follow the instructions below to finish this card.
I cut a piece of vellum 3 inches by 5 1/2 inches. I stamped the large birthday and the smaller wishes stamps together with this amazing new ink pad called, VersaFine CLAIR. It can be heat embossed even after it has dried! I used clear embossing powder.
These stamps are so much fun to mix and match for a variety of large sentiments...perfect for use with fun backgrounds like this.
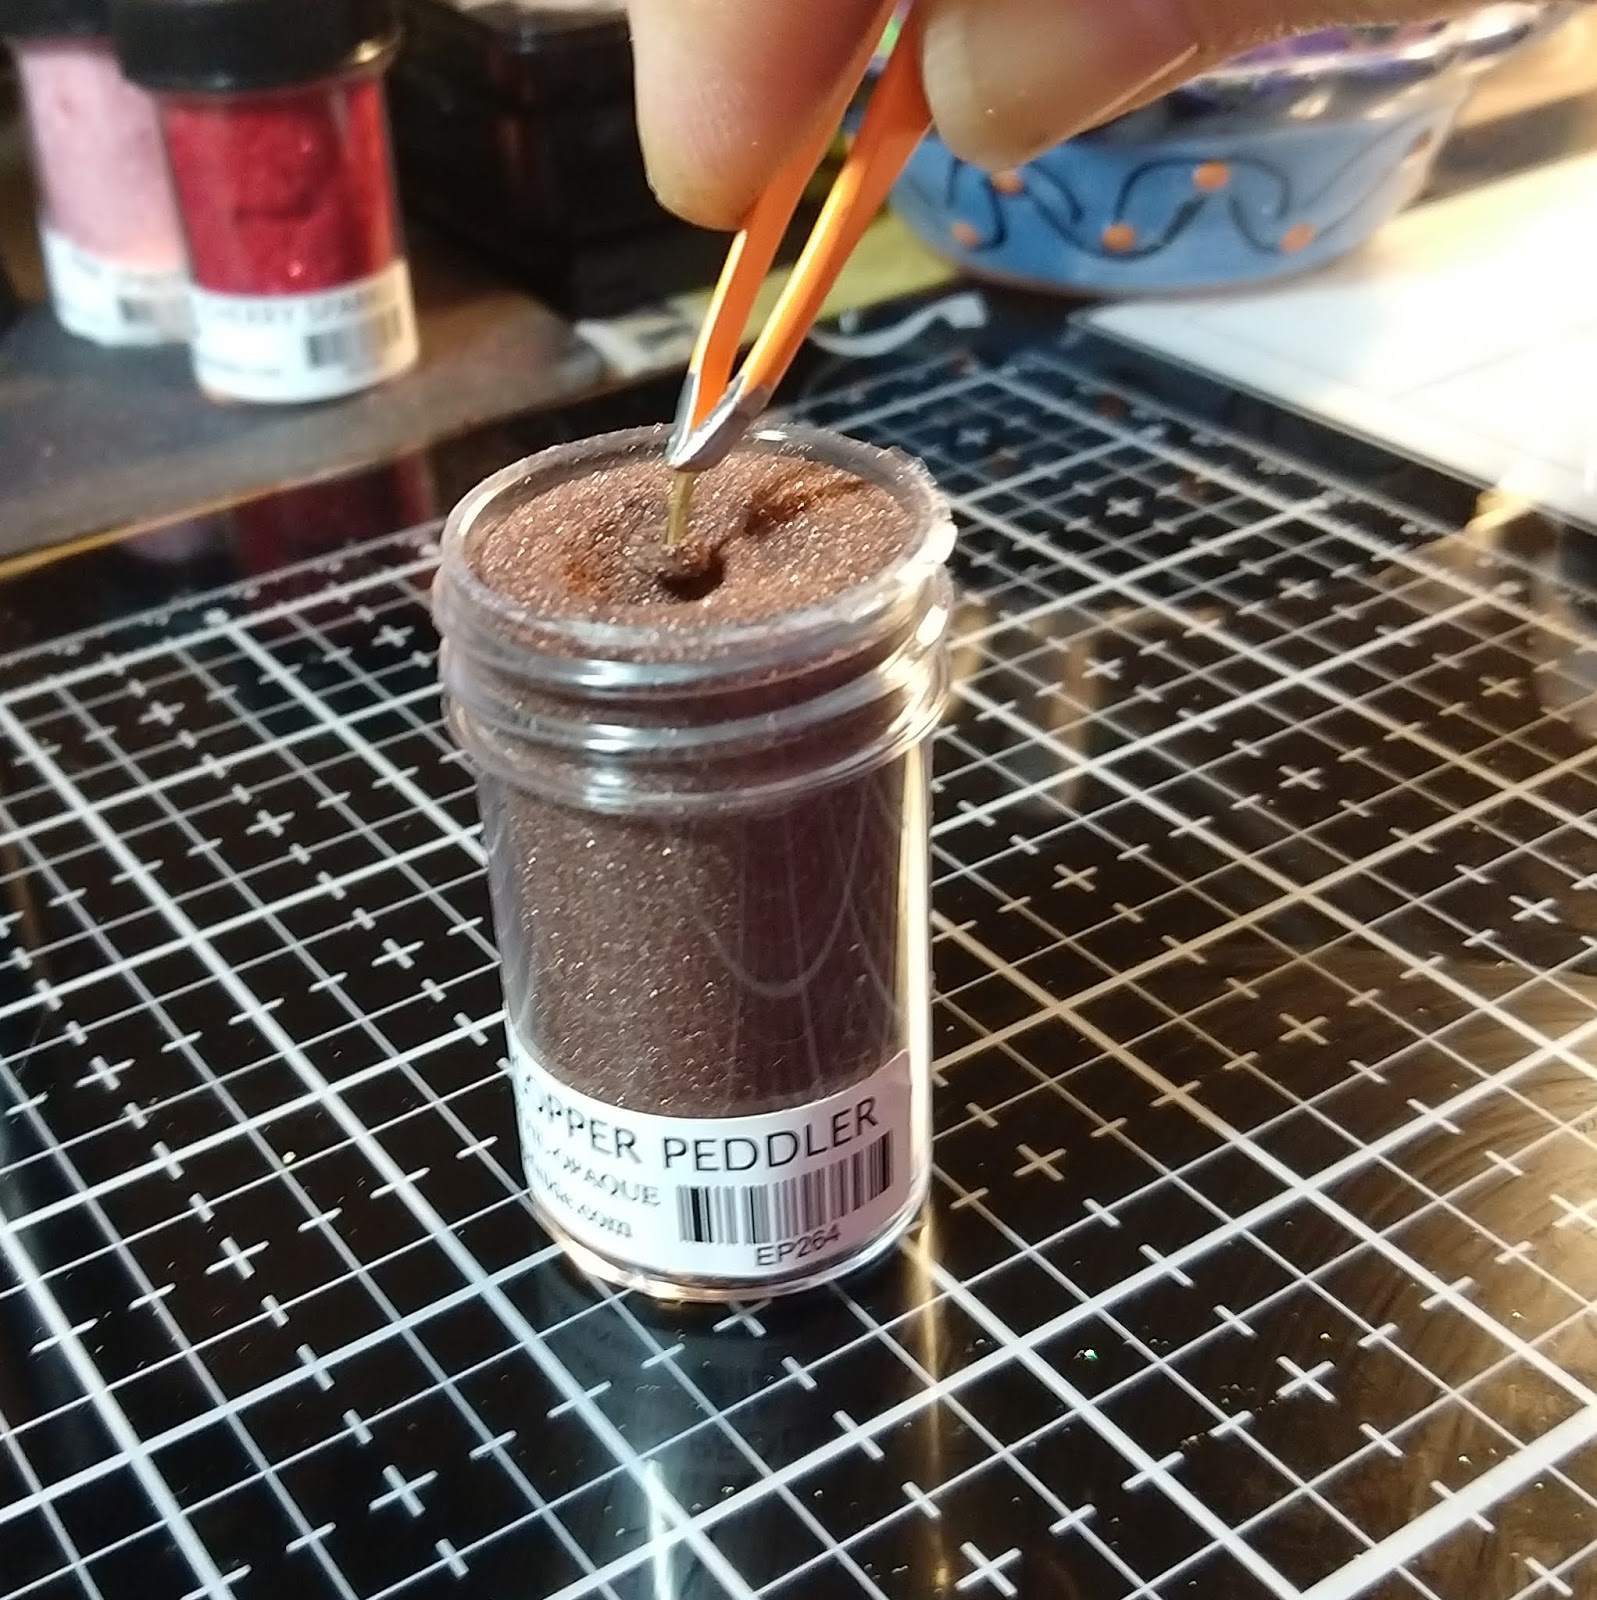
I needed to use copper brads, but having none, I heat embossed the ones I had with Copper Peddler Embossing Powder.
Get a grip with your tweezers and use Versamark Ink,
Dip into EP and tap off.
Heat emboss and re-dip,
Repeat for all. (Allow to cool for a half a minute before releasing to your mat)
Attach tape to A2 card (mine is yellow, but white works, too)
Dump Butterscotch glitter onto tape, burnish, brush and clean up excess.
Trim background to 3 3/4 x 5 1/2.
Attach batik background.
Tear edges of vellum as shown.
Punch holes through card base and vellum for brads and attach vellum.
using the smaller butterfly this time. Coat with Nuvo large glue pen, and coat with Butterscotch glitter Attach to card by gluing only the center of the butterfly down.
Be sure to watch the video for all the other items I used to create the background. The technique is amazing and FUN...and isn't that what it's all about?
Instead of water, I blended with 91% rubbing alcohol, using an aquaflow brush filled with it. I wrapped a piece of washi tape around the brush, to differentiate it from my waterfilled brushes.
First, I heat embossed the image on kraft cardstock, using white embossing powder.
I colored the images with colors from the hair and skin tone set, as they are more muted, and give that vintage look. I used Pinot Noir, Strawberry Milkshake, and Ivory Rose for the Violets. The only color I used from the Brilliantly Vibrant set was green, in two hues: Lemon Grass and Imperial Jade. I also added some Caramel Popcorn to the leaves to tone them down, and the brilliant colors were a bit too bold.
Please check out our online store, and create your own lovely palette of colors, using Vintage Drops and Nuvo Watercolor Pencils, along with your choice of our lovely stamp line.
I have been creating 12 x 12 canvases this year, and enjoy it so much.
So now that I am a part of the Sparkle N Sprinkle family, I get to create with the amazing embossing powders, glitters, stamps, and glues we create, not to mention Tearific Tape, and Tonic Nuvo products we sell...the list goes on and on.
For this 6x6 canvas, I challenged myself to think outside of the card box, so to speak. In doing so, I actually moved into my own comfort zone!
I am so thrilled to be a stamp illustrator. The company that creates both rubber and digital stamps from my art is Sparkle 'N Sprinkle. I love the, "bling" created by this amazing company!
Saturday I had some fun creating this card. I combined three stamp sets and used a bunch of SNS products, including some Tonic Nuvo marker pens they also sell.
I used a technique where I colored in the images with markers, then colored in the entire background with a blue marker. It really shows up the curly lines in my images.
If you have any questions about this card, please leave a comment below.
Be sure to visit Sparkle N Sprinkle to find all the things I used. (it may say it's out of stock, but don't believe it!) Also, visit them on YouTube, where you will find tons of videos by Demo Donna!
Just love the fun images from Gecko Galz for this month's samples! I cut the backgrounds and tucked my focal images behind the cuts. I also distressed and folded the background cuts on the second card to add dimension. a bit of glitter glue and some clear dimensional glue finishes the cards.
Be sure to visit Gecko Galz' Etsy Shop to pick up some amazing images for all your crafting projects. Leanne always has terrific freebies with purchase and offers One Dollar Wednesdays!
What fun I had making these cute cards with Gecko Galz images!
Very easy to do, just print out your images and punch out some dots of various colors from cardstock. I used some clear dimensional liquid to make the dots shiny, and some glitter glue on their hair.
Be sure to visit Gecko Galz on Etsy to get all your favorite images. Every Wednesday is Dollar Day and offers several sets at a great price!


![New Violets for You Digital Paper Set [DIGI4008FS]](https://cdn.shopify.com/s/files/1/1062/1712/products/0_digital_watermark_2048x2048.png?v=1542818768)