Showing posts with label Alcohol Markers. Show all posts

Monday, January 7, 2019


Happy New Year!

Welcome to my studio.

My very first post for the new year is about new life.

This gorgeous stamp is one of the newest at Sparkle N Sprinkle, and it's called,

I embossed it off the edge of my cardstock with Copper Peddler Embossing Powder. I embossed the sentiment with it as well. I used a die set from my stash to create some pretty corners. The entire background, as well as the die cuts are brushed with my new favorite Nuvo Mousse:
Worn Linen. It's an Expanding Mousse, and we will have it available in a couple of weeks!
It truly makes a lovely background on white...just enough shimmer to make it look extra special. I didn't expand it here. It can be used simply to add the shimmer. 

I also shimmered up the sentiment after cutting it with a die set from my stash.


I chose to only color the eggs, to create a focal point. I love our Nuvo Pens. They are awesome alcohol markers that blend effortlessly! They also have a super price point. I used the Aquamarine Set  for my eggs. 


Such an easy way to use this stamp set...Not much coloring!

Finally, I mounted the card on High Gloss Mirror Cardstock in Rose Platinum. 

Such an easy way to use this stamp...Not much coloring.
Be sure to join us for our challenges on Facebook here.

Thanks for stopping by...next week I'll have a new card with a video for you!

Have fun,


Saturday, November 17, 2018

Home is Where the Love is

Mixed Media is my love...lately.

I have been creating 12 x 12 canvases this year, and enjoy it so much. 

So now that I am a part of the Sparkle N Sprinkle family, I get to create with the amazing embossing powders, glitters, stamps, and glues we create, not to mention Tearific Tape, and Tonic Nuvo products we sell...the list goes on and on.


For this 6x6 canvas, I challenged myself to think outside of the card box, so to speak. In doing so, I actually moved into my own comfort zone!


Here is what I used for this project:


Also Available at Sparkle N Sprinkle
Nuvo Vintage Drops in:

Nuvo Embellishment Mousse in:


Nuvo Marker Pen Collection in

Nuvo Dual Tipped Blender Brushes

I also used a piece of a vegetable bag as a stencil.

I hope this inspires you to try mixed media canvases...

Stay tuned for a tutorial on how to create a canvas like this one.

Happy Stamping,

Friday, October 14, 2016

Flourishes Friday Design Team Challenge Hop

Hello and welcome to my studio!

Today's Design Team challenge is by Linda Lucas.
She has challenged our team with,
"Let's get Sentiment-al"

The technique I decided to use, I learned from Jennifer McGuire. Using my newest toy, the Misti.

I was able to repeat the sentiment with ease, using the ruler on the Misti.

 I masked the image after stamping and coloring it with Prismacolor markers, and then proceeded to stamp the sentiment over and over, moving the card 1/4 inch at a time. I know, the spacing is a little off, but is was my first time using this amazing tool.

The stamp set I used is one I illustrated exclusively for Flourishes. It's called,

winter-blooms-set-13-watermarked-3

Be sure to visit the rest of the team to see more amazing cards focusing on sentiments.

Flourishes Blog
Barbara Thompson
Beverly Cole (me!)
Linda Lucas
Naomi Gong
Rebecca Ednie
Tricia Traxler

Enjoy the journey,

Wednesday, August 24, 2016

Fuji Mum


Markers and pencils are my best friends.
I just love coloring...always have.

Using my mix of Prismacolor markers and Spectrum Noirs, along with my
Prismacolor Premier Pencils, I really enjoyed coloring this Fuji Mum.

This will be a part of the new set coming out at Flourishes.
I am the Resident Artist there.

I hope you will stay tuned for my stamp sets coming soon!


Tuesday, August 23, 2016

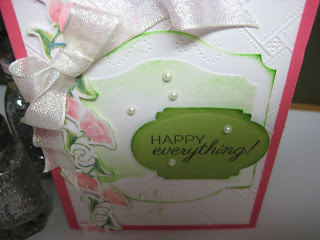
Happy Birthday Lily!

It's my granddaughter's birthday soon, so I made a card with her in mind. She's only going to be 6, but she is such a little lady these days...grown up so much in the last year.
I used a Christmas set from Flourishes, to show that these sets are versatile...not just for Christmas.

harp

I used the small corner flower. I actually cut the stamp in half, which I do quite often. It's easier than dealing with the rest of the stamp, and you can always put them back together on a block.


 I still had to do a bit of masking with a post-it note as I went along, stamping them in
Close To My Heart's Champagne ink,
and turning them this way and that to make a chain of sorts.

I colored them with Prismacolor markers and then with Prismacolor Premier pencils. I blended a bit with a blending marker.

Fussy cutting is never a big deal to me, as I love to cut...it's like therapy. I also love to ink the edges of EVERYTHING so you will notice that on nearly every element of this card.
 I used the die set from Flourishes called, "Perfectly Pierced Classic Frames", and offset the sentiment frame. The sentiment is from an older Flourishes set.


I added some glittery ribbon and pearls.

I really hope this card hangs around for awhile...maybe on the 'fridge.


Well, keep watching for my new stamp line from Flourishes...


Tuesday, July 19, 2016

A Peach of a Sale!


 Hello Everyone!
Welcome to Bev's Bliss


I have the honor of being the newest illustrator for Flourishes!

But before I share my new designs, I want you to know that

Flourishes has a PEACH of a SALE going on!

To celebrate this event, I decided to use one of my absolute favorite sets to make a card for you
...
Peaches and Cherries


First, I stamped the image in a light pink, so as not to see any lines.


Then, I colored the image with alcohol markers.


Next, I used colored pencils to do the details,

finally blending all the pencil with an alcohol blending marker.
The result is pretty cool, huh? Almost looks like it's not even done with a stamp!

The sentiment and "peach" label are also included in the set. I uses some of Flourishes' beautiful cardstock to match the colors of the leaves and fruit.

 I am entering this card in the following challenges

RRCB43 Retro rubber challenge: Summertime
Cards in Envy: It's a Heatwave
House of Cards July Challenge  Fruit/Drink and/or colors
One Stitch At a Time #266 anything goes with elements of nature

Be sure to get over to the Flourishes LC sale RIGHT AWAY before this set disappears forever!

Happy Shopping,


Sunday, September 13, 2015

Reference Photo 2 Ways


While on a field trip with our local pastel group,
I took some photo references. I was hoping
 to get at least one I would love...and I did!

It turned out that I had a couple of opportunities to
put this picture to use. I don't know...I guess it's 
that one big flower that got me.

First, I did an alcohol marker drawing.

 I drew the Coreopsis with a fine tipped marker.


I then began the process of coloring it 
with Spectrum Noir alcohol markers, 
using my favorite shading and texturing techniques.


 Here is the final piece.


THEN

I needed to finish a piece for the upcoming pastel show, "Wings and Wildflowers". 
Using the same reference, I did a 13 x 23 inch piece on pastel paper. 

I began with the basic background and lights,
using some of my harder soft pastels... 

then, when I added some darks, the lights began to pop.

My finished piece.

Thanks for looking...now go create something that makes YOU happy:
A drawing
A painting
A cake
A pot of soup...

and Enjoy the process.


Saturday, February 15, 2014

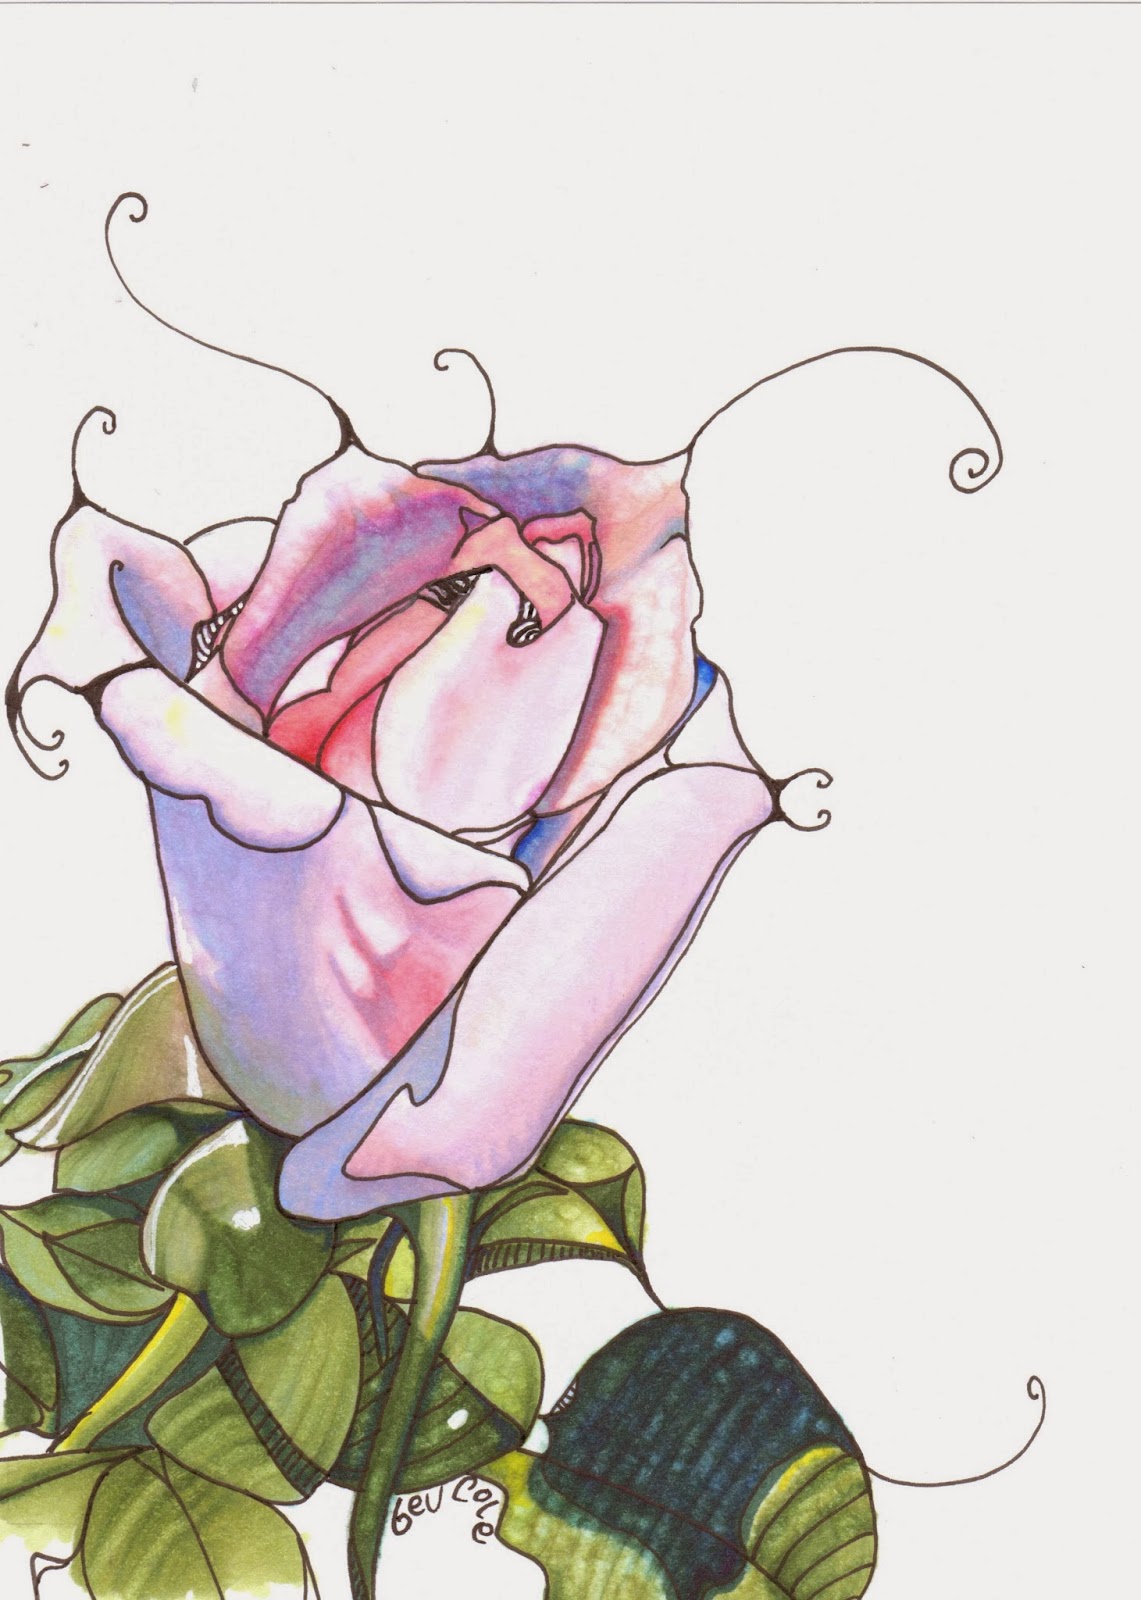
Sarasota Rose


My newest Zia floral...another rose from Mable Ringling's Garden. I don't know if it is really called, "Sarasota Rose", but I like the correlation.
 
I used Spectrum Noir markers on this one. I also used a white Gelly Roll pen to do some Zia highlights. I used a Micron pen .05, to draw the image.
 
I am truly enjoying this process. It is very relaxing for me. I feel like I have more control with the markers as opposed to watercolor or alcohol ink.
 
Thanks for looking, stop by again soon.


Thursday, February 6, 2014

Blue Flowers Finished

OK, so it took me a week to finish this. I was also working, and doing 29 Faces, so when it rained today, and I couldn't be outside, I spent the morning finishing.
 
I decided to put in the garden background. I used my Spectrum Noir Markers and Pencils. However, the colors were too brilliant, so I whitewashed the background with some Picket Fence Distress Paint. I then sprayed the whole thing with water, using my finger to blend the white paint over the colors in the background. If you look at the bottom right corner, you can see some swipe marks left by the Distress Paint.
 
I am happy with the result.
 
Now...what next? Tomorrow I am attending a class with some artist friends. Stay tuned for some samples of what we do.
 
Thanks for stopping!


Tuesday, February 4, 2014

Face 4

 This is Face 2, "finished". My sweet granddaughter Lily.
I finally had some time to devote to really working on this.
 I consider this ZIA (Zentangle [TM] Inspired Art.) I used Spectrum Noir Markers and a Micron pen.
Thanks for stopping by for a peek...see you tomorrow,


Monday, February 3, 2014

Face 3

Using the same picture of my granddaughter, I went for a mask type drawing. I usually draw very realistically, so this was quite different for me.

I used Spectrum Noir Markers and a Micron Pen.
 
I want to thank 29 Faces for stretching me artistically.
 
See you tomorrow,
 
Bev

Thursday, January 23, 2014

Working on this...


Too cold to work outside, so I have been able to devote some time to my art.
 
I am on a bowling league, and have to leave soon. I hope I get to finish this tomorrow.
 
Blues seem to be more difficult for me to work with. I think it may be the amount of pigment in the darker shade.

I love the fact that Spectrum Noir Markers come in packs of color families. Don't know what I would do without my color chart either!
 
Thanks for stopping by...


Wednesday, January 22, 2014

Another Floral

 
I decided to do another floral, since I wanted to do something, but was not ready to do the ZIA on my previous piece. I may just leave it as is...thanks NC.
 
This one is a rose from Mable Ringling's Rose Garden in Sarasota. I took several pictures last Fall, and thought they would come in handy some day. Well, that day was today.
 
I am enjoying this process. Using the Spectrum Noir blending marker to add texture seems to work for me.
 
I am also discovering that I enjoy the less realistic look of the flowers. My art is usually very "tight", and realism has always been my aim. I need to relax and enjoy, not stress and become frustrated. I don't know how many paintings and drawings I have left undone because I was not happy with the way they looked.
 
This is so much FUN!
 
Thanks for stopping by and taking a look.
Come back soon!


Tuesday, January 21, 2014

Something I've Been Working On...

 
I wanted to post something so you can see how I am progressing with my artwork.
 
Yesterday was Art Group.  I have been so inspired by my friend Donna who insisted I attend the group. Her enthusiasm and ideas have fueled me. Along with the artists who attend, she has given me the courage to step out and be who I am.
 
I love her for being there for me.
 
Before I attended Art Group, I took some pictures of the Mandevilla growing near my front door. I downloaded them onto my tablet, grabbed my art satchel and headed down to the activity center.
After drawing with pencil and then marker, I did most of the coloring today at home. I used Spectrum Noir Markers and a Micron Pen.
 
I am not done, however.
 
My plan is to do some ZIA (Zentangle® Inspired Art) with the Micron, adding interest to the background. If I mess is up, at least I have this photo to remember it.
 
Thanks so much for stopping by. I hope you will be back to see the finished work.